
My blueberry crop has been abundant the past few years, but I’m not the only one who’s noticed. The ducks, squirrels, birds, and snakes – yes, snakes – have helped themselves to my berries before I’ve been able to pick them (well, the snakes may have actually been there for the critters).
So this year, my project would be to build a blueberry cage before the crop ripened!
Planning the design took my dad and me about two months because we needed to find & price the supplies. Our budget would be about $600, and the biggest challenge in building the cage within our budget would be based on what wire we chose.
We had several stumbling blocks: (1) many options priced the wire two-thirds of our entire budget, (2) we didn’t want to run out or have too much wire left, (3) I didn’t want the structure to look like a dog pen in the front yard – I wanted “invisible” wire, (4) the dimensions of squares as well as thickness of wire were a challenge to find, and (5) there was a huge variance of price.
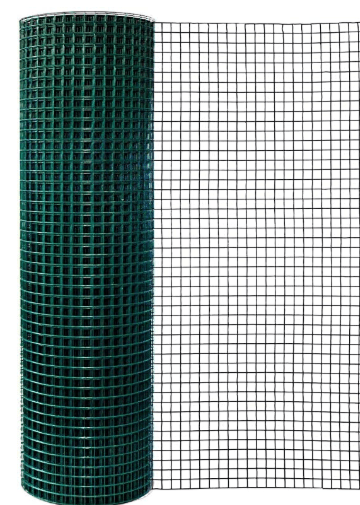
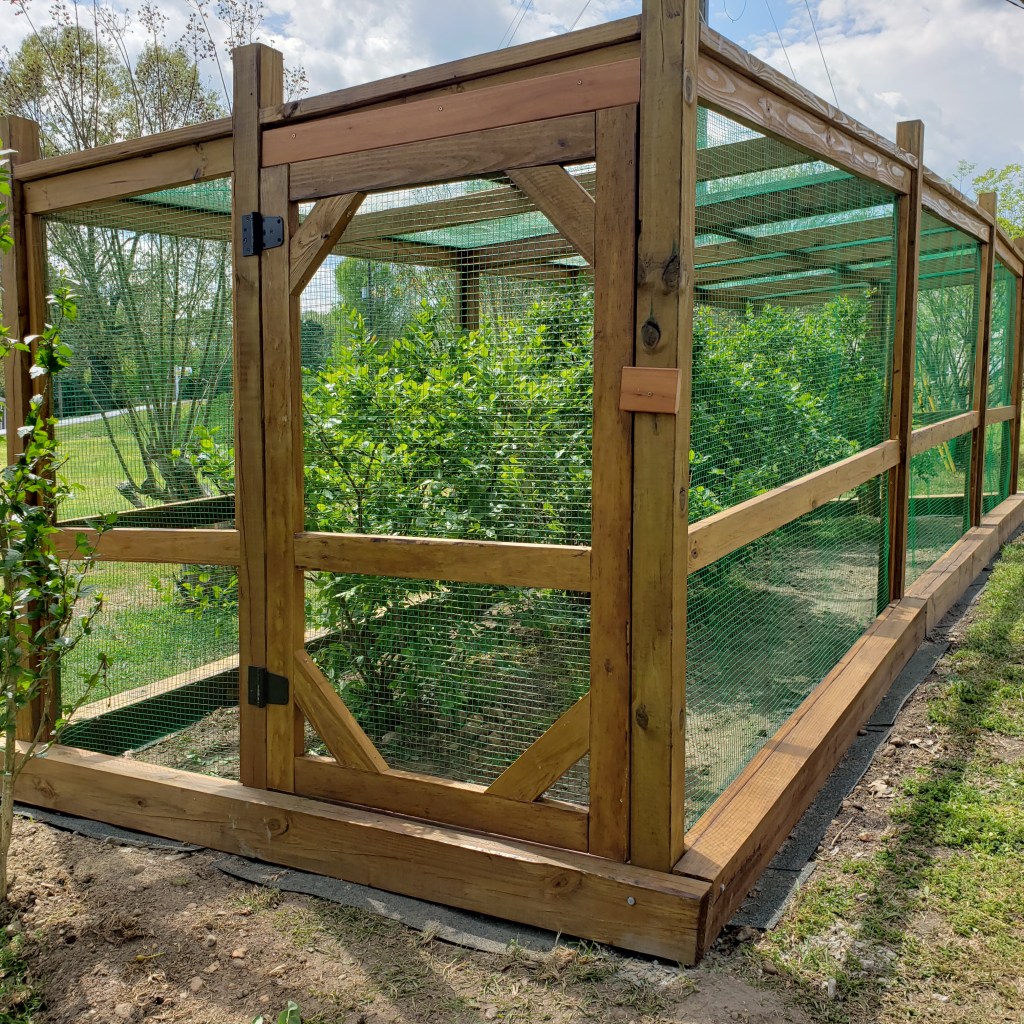
While Home Depot and Lowes appeared to have a lot of options, none of the size I needed had a coating – they were all galvanized silver. I thought about spraying it with Anodized Bronze spray paint if I found no other option, but then I decided to look on Amazon. Amazon had a much wider selection of coated wire and competitive pricing. We found Yikai wire with 0.65 x 0.65 squares would be the ideal product ($100 per roll). I did prefer a black coating, but it only came in green, and that would work as well.
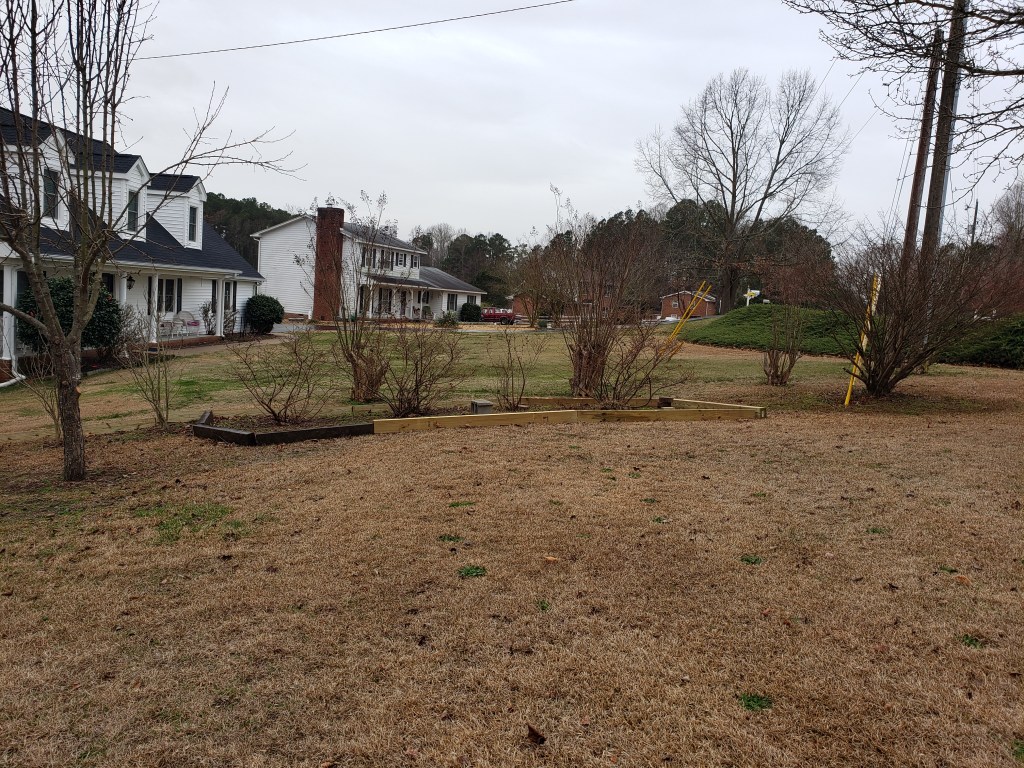
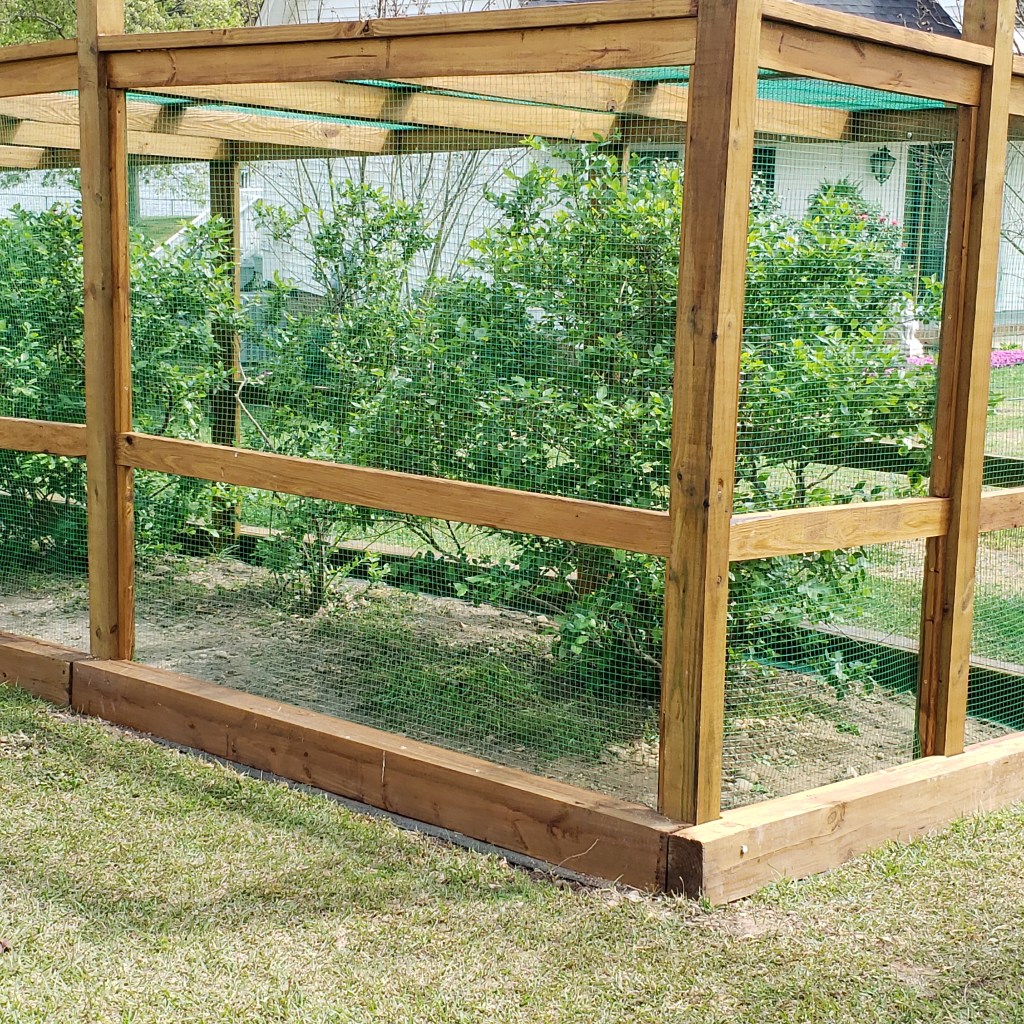
Based on the amount of wire on a roll and the general space around the four blueberry bushes, I decided the cage would measure 7 feet wide by 22 feet long.
With my job, we’d have to work on this during the weekends. I figured it would take me four to six weekends to complete it, weather permitting.
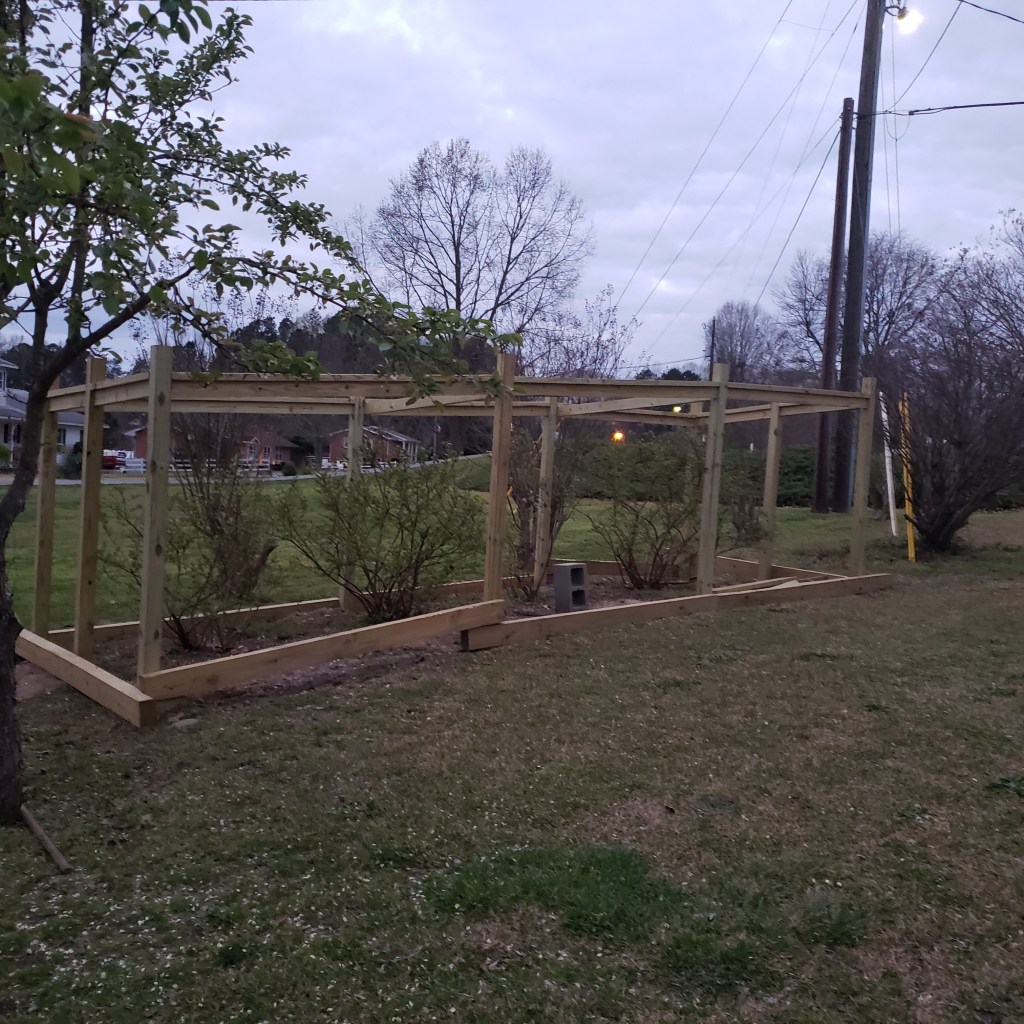
Once we determined in what order we were assembling the pieces of the project, we were able to finish the framework in two weekends.
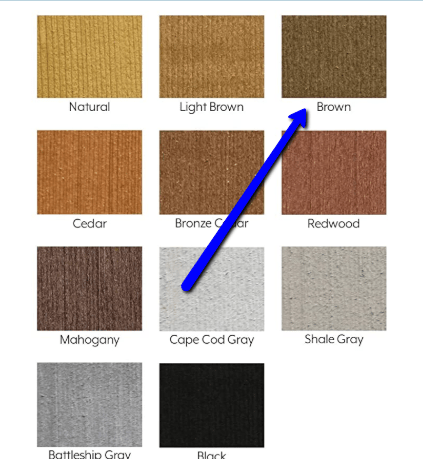
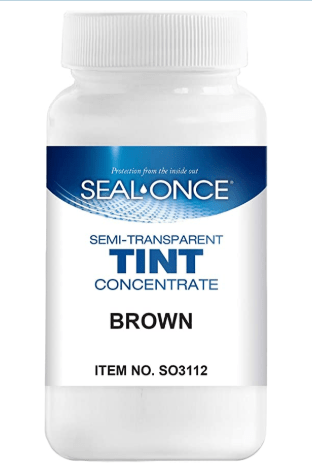
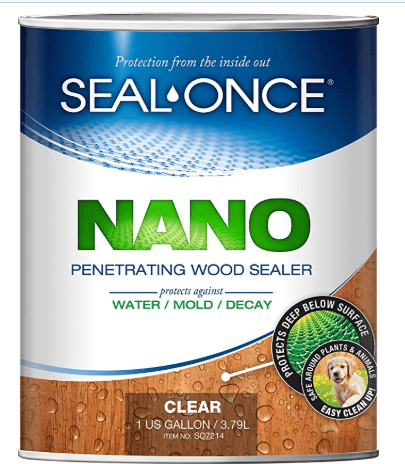
We then stained the treated lumber using Seal Once Nano wood preservative and added Brown stain to match the Tigerwood decking and accents I have in my yard. Besides the beauty factor, I felt this wood sealer would keep my projects protected long after the bare treated lumber could withstand the elements.
We were anticipating just a few more weekends to complete the project. Then… COVID-19 happened, and the Governor of North Carolina passed a Shelter-in-Place Order through the end of April 2020 (as of this writing). We had a few days to purchase any additional items we needed before the Order went into effect, so we were ready. This project would now go into warp speed and be finished in just a few days.
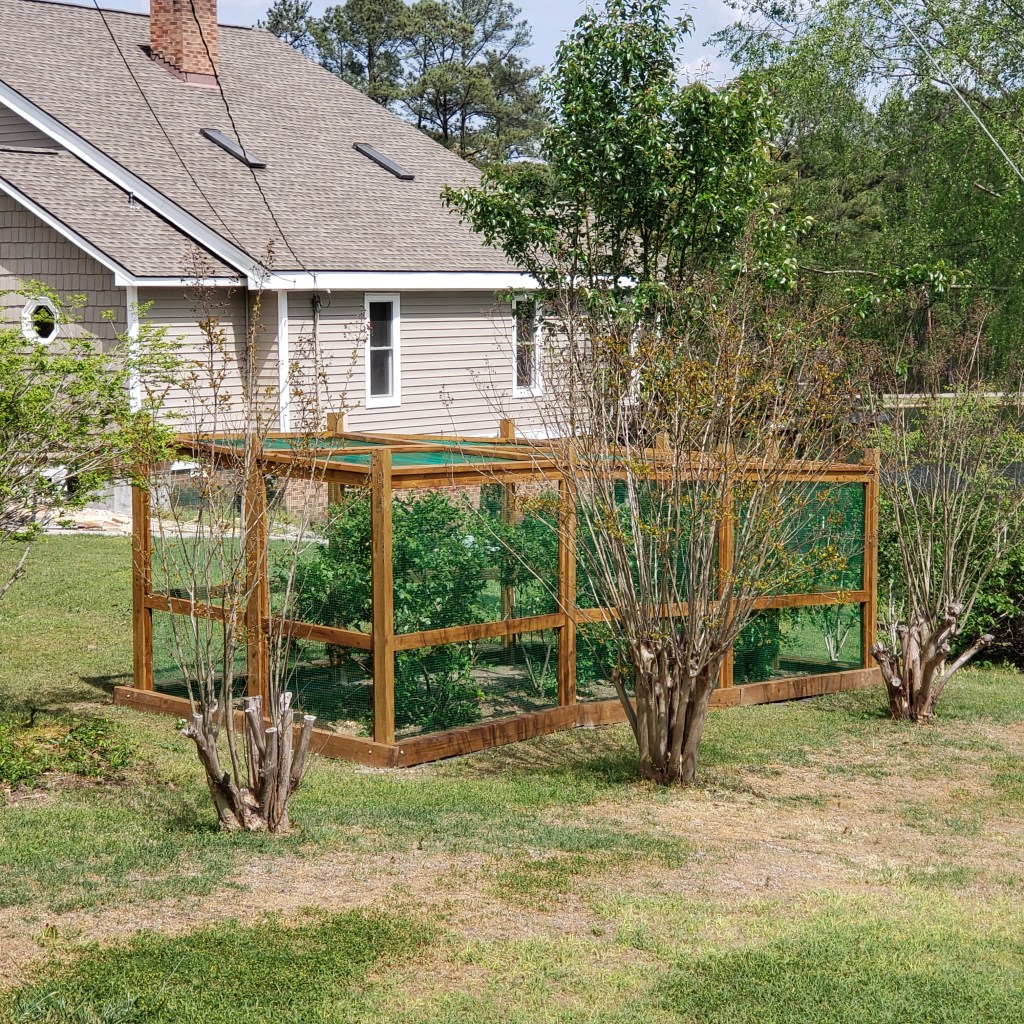
Now, the project is 99% complete – I am still shopping around online for the right post caps to accentuate the top, and when we can get out in public again, I’ll add some stepping stones and mulch the bed.


You must be logged in to post a comment.