
GIVING A GLASS DOOR A MODERN MAKEOVER

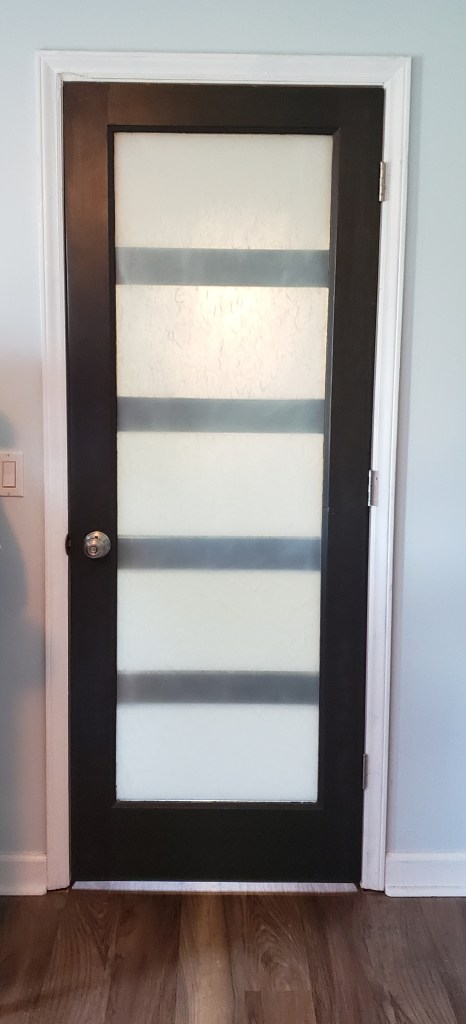
Shaker, get ready to meet Asian: a modern twist with rice paper film for privacy but enough light to brighten the space. I’ve seen this style throughout Asian dramas and decided this would be an ideal style for my two upstairs bedrooms.
The Project: While I do like upscale, higher-end decor, I am a DIYer at heart. For this project, I wanted to convert two full panel glass doors (they were exterior doors, by the way) into a chic, modern look that went with the rest of the theme in and out of my home – what I like to call “western Asian.” What better time to do this than during the Governor’s mandate to stay at home and ride out COVID-19. Just for kicks, I want to see how I can do this with an I’ve-been-furloughed-thanks-coronavirus budget 🙂 so no $1,500 Mahogany finish door today. Let’s see if we can stick within a budget of $100 for both doors!
Last Fall, I was surfing a local yard sale online and saw a listing for five all-wood 30×80 glass doors for $50. I jumped at the chance to buy a pair for my upstairs as I wanted to add light into the rooms but make sure privacy remained with frosted glass. Cost of the two doors, $20.

Step 1: DE-STINK! Before I purchased them, these doors had been sitting out in an old storage building for some time and took on a strong mildewy musty odor – smelled a bit like wet dog was rolling around in Grandma’s dusty attic. The paint needed to be totally stripped rather than just painted over. I had hoped to possibly stain them if I exposed some pretty wood, but painting would be the best option to get rid of the source of the smell. With a thick crust of dust on the glass, the doors needed a really good CLEANING, both sides. I cleaned them several times before moving onto the next step.
Step 2: FROST THE GLASS. Since this is a bedroom door, privacy is important. The typical frosted films you can purchase are easy to apply, but they don’t offer as much privacy as a bedroom should have. Therefore, before sanding, I decided to spray the interior (bedroom side) of the door glass with Krylon frosted glass paint for additional privacy. I’d rather get the spray paint on the old paint before stripping instead of over-spraying it on freshly sanded wood. Because the exterior glass will have a rice paper style frosted film, the interior didn’t need the rice paper film – the spray would suffice and save money. Therefore, I bought one roll for my two doors. Cost of spray paint, $4.

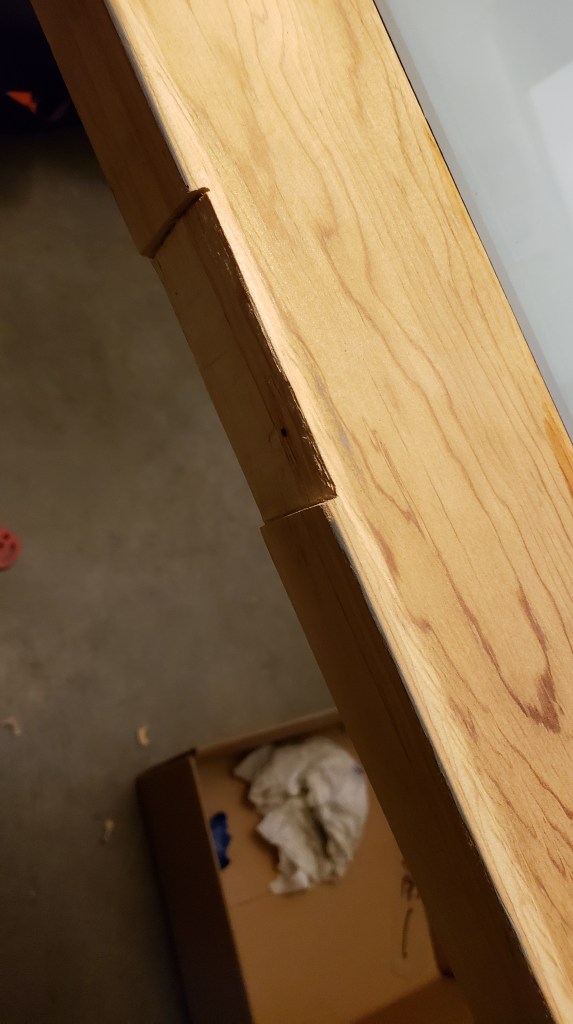
Step 3: TRANSFER THE PATTERN. Since I was replacing my bedroom door, I used the door that was in place as a template for the door knob and hinges. I simply placed the old door on top of the new door and drew out the hinge and door knob spaces. Before sanding, I cut out the hinges in with a chisel and drilled the doorknob holes.
While others would opt to trace the door hinges exactly shaped to the hinge with radius edging, I opted to chisel out a rectangle so I could adjust hinges in place. Why? Because these monsters are incredibly HEAVY, and I may need to make some adjustments during installation! The other reason is the doors are 1/4″ thicker than the previous door. At this point, it would be a good idea to dry fit the door in case so need to adjust hinges or trim the door.
Step 4: SAND, SAND, SAND. Now it’s time to get out my sander and see what was underneath the layers of paint…and stink. The exterior side had several coats of exterior paint on them, so stripping them with a sander became a bit of a chore, but I continued. I went through quite a bit of sandpaper, too, so for the second door, I’ll use a paint stripper. Cost of stripper, $17. While this was the most time-consuming part, it was also the most therapeutic because I got to see the beauty beneath the paint. I sure wish I could have stained it instead. I know there are ways to cover the holes with veneer, but that’s not THIS project.
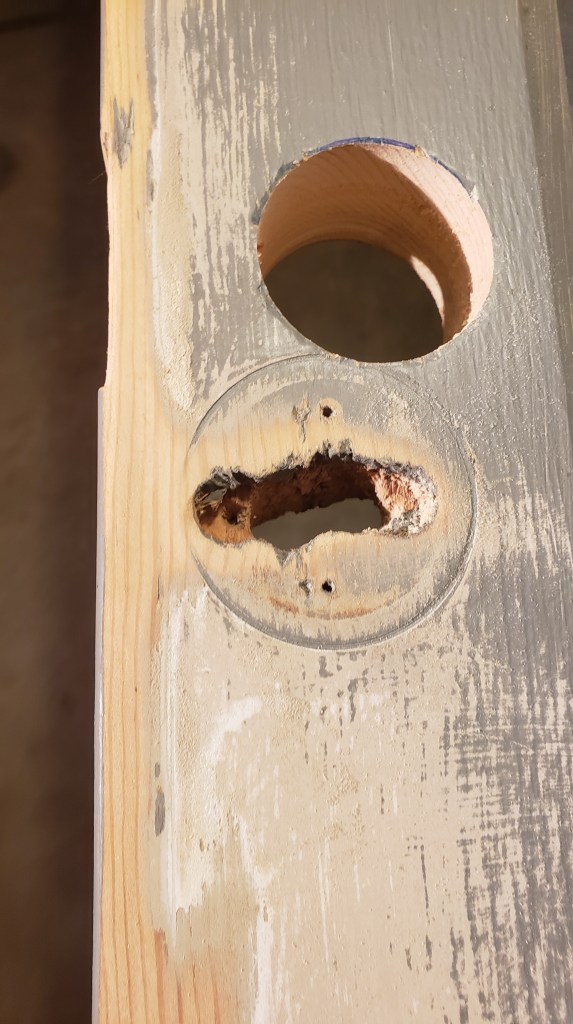
Step 5: FILL IN HOLES: These doors had been used for some sort of display at festivals where they were attached to each other, so they had holes in them in odd places. The biggest challenge was how to fill up that gaping hole used for a makeshift knob that was set lower than a regular doorknob. Because I wouldn’t be able to easily match the wood grain when filling the hole, it meant the door would have to be painted again rather than stained. Once the holes were filled, the door would be sanded on all sides and edges with fine grit sandpaper.

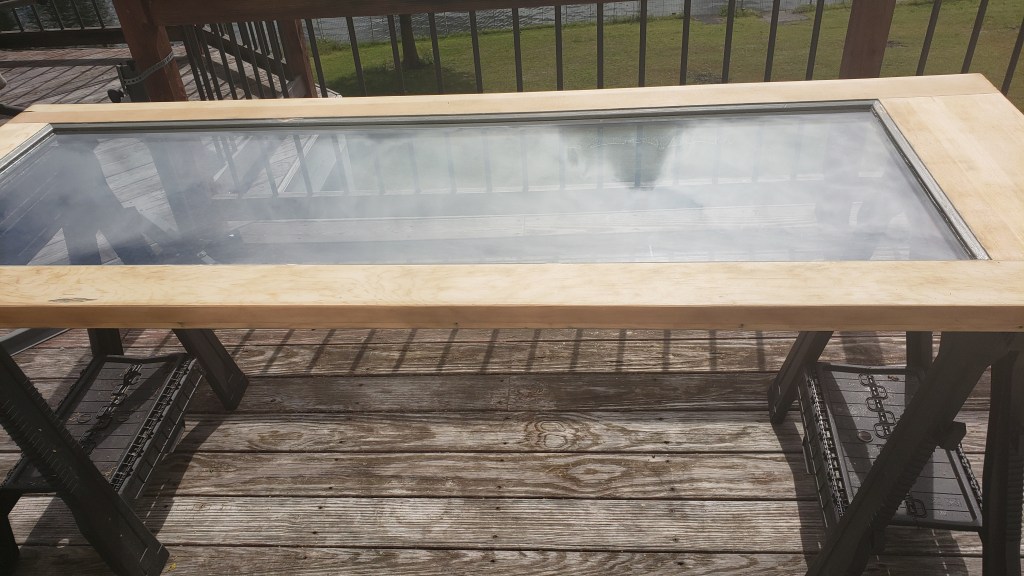
Step 6: MAKE THE 4 PANELS. I purchased two 1/4″ x 3.5″ x 48″ poplar project boards for the horizontal panels. Now is the time to cut them to fit inside the glass (about 21 inches), sand them lightly, bevel the edges slightly, and get them ready to paint. Cost of panels for 2 doors, $20.

Step 7: PAINT. I decided to buy “sample” paint from Lowes because paint has gotten so pricey nowadays. I bought two sample jars (half pint) of Sherwin Williams paint in “Sealskin” satin finish. I painted both sides of the doors and the four 4″ poplar panels with one jar of paint per door. Cost of two sample jars, about $7.20.

Step 8: SEAL. I used a water-based polyurethane satin sealer that I already had on hand to protect the paint.
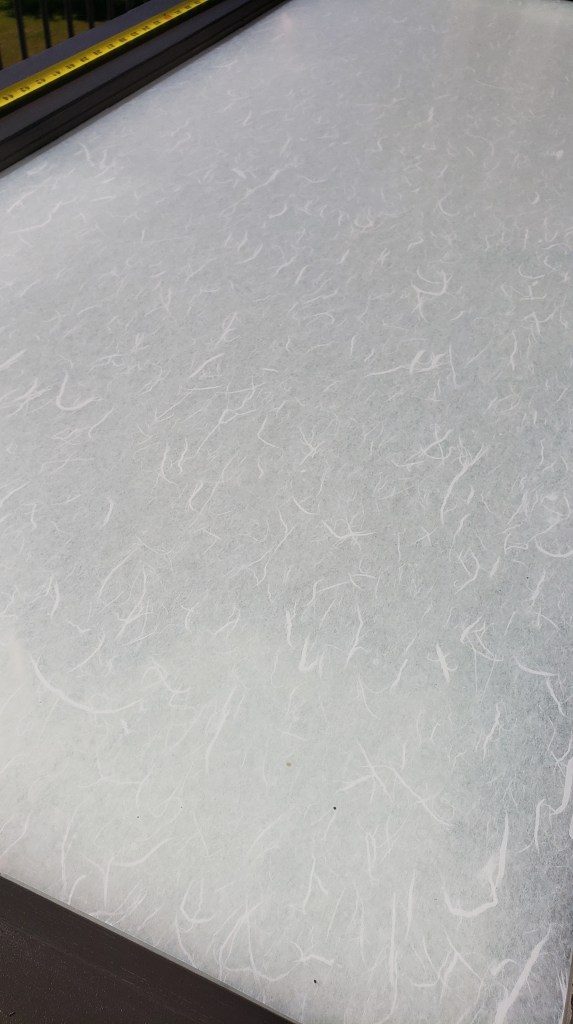
Step 9: APPLY THE RICE PAPER. After cleaning the exterior glass several times and making sure there are no specs of debris, it’s time to install the rice paper according to the manufacturer’s instructions. Be mindful that Step 9 and Step 10 should work in conjunction because you’ll want to remove the rice paper beneath the wooden panels (see Step 10 for more details).
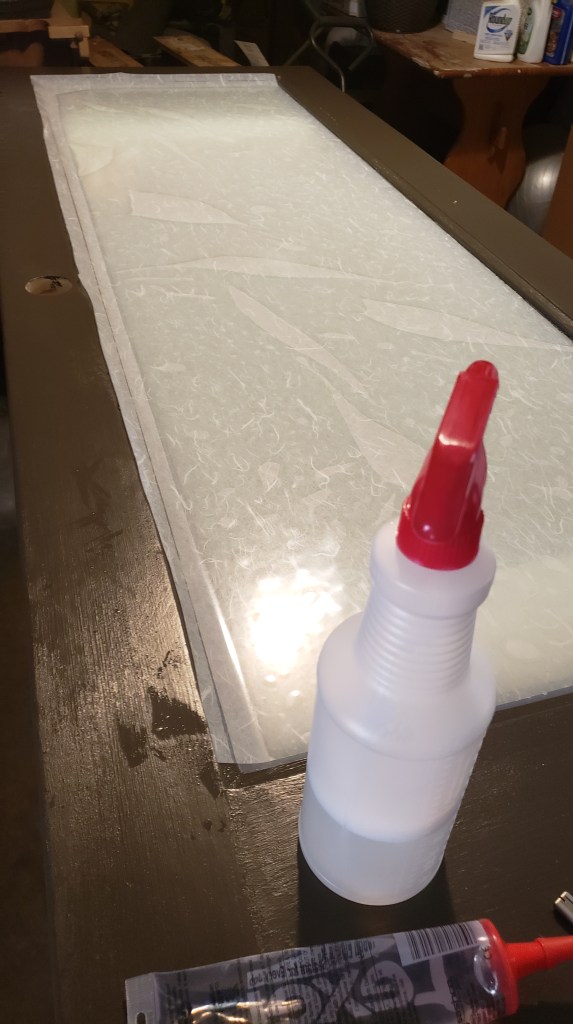
Installation is rather easy: using a spray bottle, fill with 16 ounces of water and add 6 drops of dish detergent. Put a piece of tape on one corner of the film and another piece on the opposite side, sticky sides facing each other but away from each other so the tape doesn’t stick to itself. The tape acts as a handle so you can pull the protective film away from the rice paper. Spray the sticky side of the rice paper with the soapy water solution and spray the glass. Having enough solution on both sides will help get the rice paper to slide to the proper position on the glass. Squeegie the air bubbles out and let dry. Cost of rice paper film on Amazon (48″ x 7′), $44.

STEP 10: IMMEDIATELY INSTALL PANELS. Before the rice paper film has a chance to set, dry fit where panels will be installed (you should already have done the measurements and know where they will go). With a razor, cut the rice paper on the top and bottom of where the wooden panel will fit. Remove rice paper. Glue panels to the glass with clear silicone adhesive.
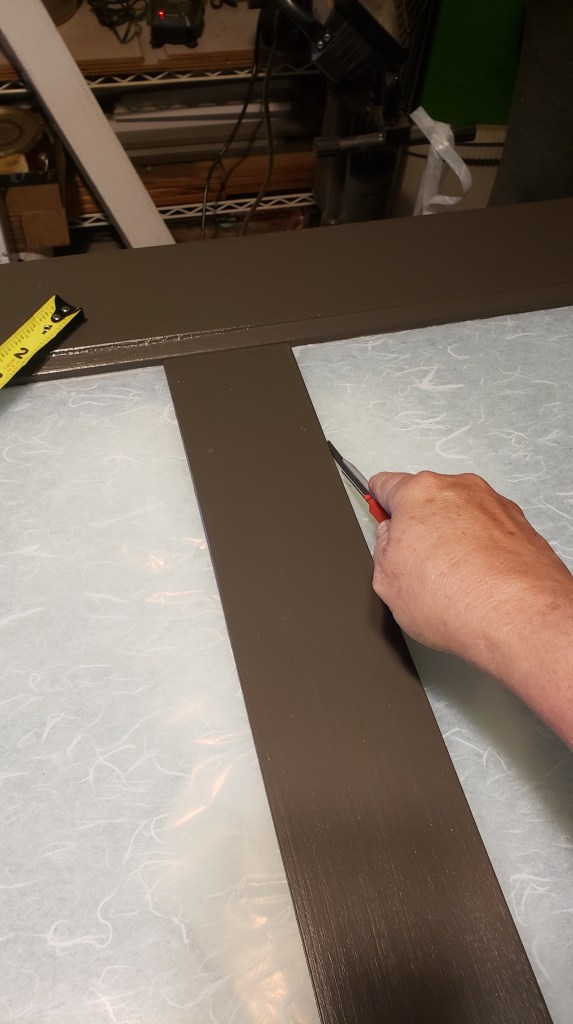
Tip for calculations: measure the total length of the space you will fill. In this case, the length of the glass is 66-1/2 inches. Measure the height of the boards you will be placing inside (the boards are 3-1/2 inches tall, there are 4 boards, so this is 14 inches). Now subtract how much space the boards will take up in the glass: 66-1/2 minus 14 inches equals 52-1/2. With the four boards, that gives you five spaces. Since you want to know the space in between each panel, divide the number of spaces into the length you have left after subtracting the space the boards will take up (52-1/2 divided by 5 equals 10-1/2 inches). That will give you the height of the space in between each panel.

TOTAL COST:
- Doors = $20
- Frosted glass spray paint = $4
- Paint stripper = $17
- Popular project panels = $20
- Rice paper = $44
- TOTAL = $105.00
Not bad – almost in budget. I had sandpaper, wood filler, glue for the poplar boards, and sealer on hand, so that would be additional if you had to buy it.
PROJECT COMPARISON
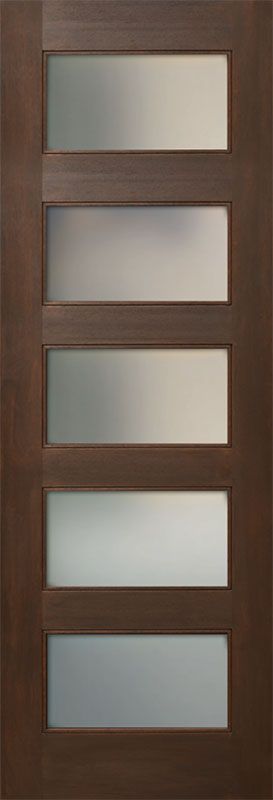
This is a door that’s commercially available through Door N’ More online for about $250 plus shipping. I’ve used the company previously and am a fan. However, I wanted to see if I could create the same effect by reusing someone else’s unwanted doors.

You must be logged in to post a comment.